I’ve been passionate about great coffee for a long time.
My brewing journey began during university when I discovered home coffee machines and was fortunate to have an excellent roaster just a few miles away from where I lived.
At a time when coffee grinders weren’t widely available, I invested in an electric burr grinder for home use. Over the years, I’ve experimented with various brewing methods, owning several espresso machines, drip brewers such as my trusty Melitta dripper, and found the Aeropress shortly after it was first released back in 2005.
But it wasn’t until 2020 that I got a chance to play with the V60 pour-over cone, which sparked my desire to refine my techniques and craft more flavourful cups.
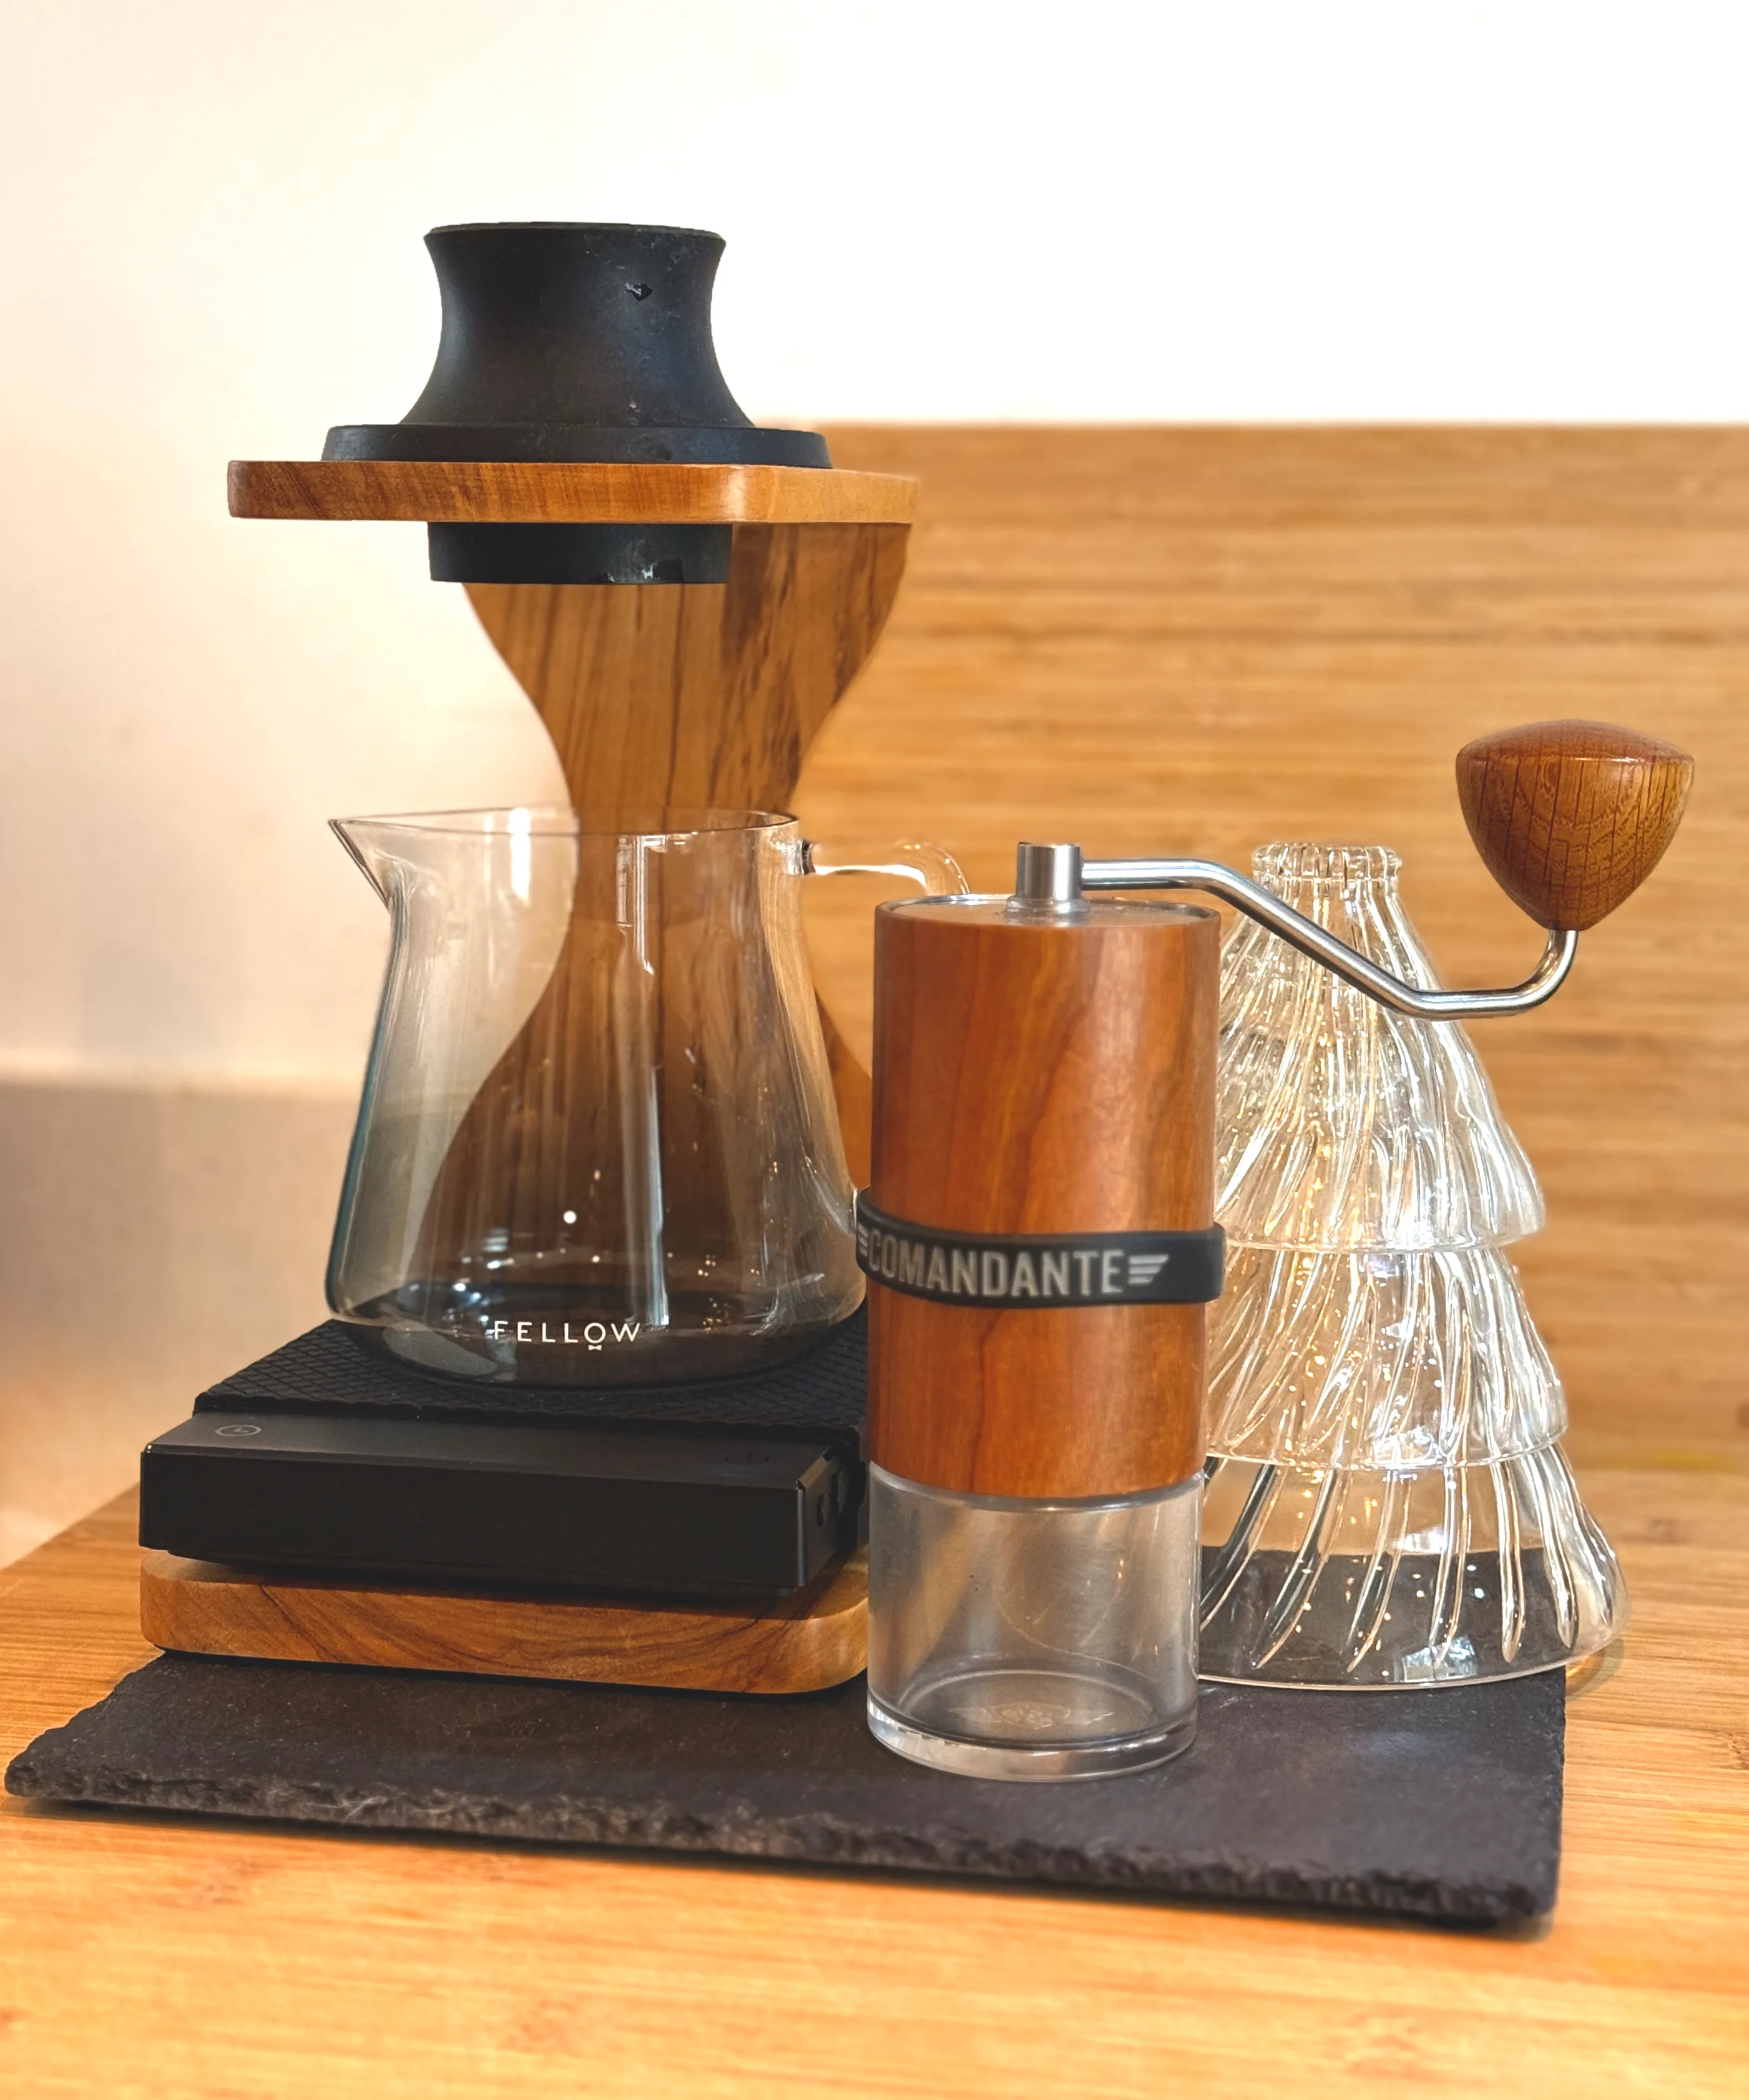
My Equipment
Updated January 2026
- Hario Switch 02 (v60 base allows for immersion and/or percolation)
- Glass v60 cones (01, 02, 03 ) fit the switch base. Selected based on cup size / guests.
- Smoked glass coffee carafe by Fellow. Lovely piece of glass. See my review here.
- Comandante C40 v4 coffee grinder. Sweet smooth cup with good clarity
- Cafec T90 paper filters
- Timemore Black Mirror scale.
- Brewista gooseneck kettle.
- Fellow Atmos vacuum canisters (various sizes)
- Hario Olive Wood Dripper stand
- Kinto Sepia amber coffee cup and wooden saucer (270ml)
- Kinto CLK-151 ceramic cup 180ml
- Kinto nonslip teak tray
Coffee
I was a bit lazy when it comes to coffee beans. I have a subscription to the amazing Pharmacie coffee roasters in Lewes, and I picked up the odd extra bag from other roasters.
Now, in 2026, I have reduced the coffee I get on subscription and buy from several roasters directly in London or from roasters and amazing coffee shops in Brighton.
A big shout out to Scenery and Skylark roasters.
This means I normally have between two and four beans on the go at once and typically have a selection of washed and natural beans with the odd anaerobic process or co-ferment when I fancy something different.
Beans are always roasted on the light side and stored in Fellow Atmos containers. This allows me to remove the air from the storage container and therefore see a marginal drop in freshness over a four to six week period. No idea how fresh these really keep my coffee but I recently enjoyed a co-ferment over a four week period and really didn’t notice a deterioration in quality.
Actually, it was much better once it had been open for about a week - lost some of the odd funky flavours but kept the aromas.
How much coffee?
Whilst I keep a few coffees on the go at once I tend to have a maximum of two cups per day equalling around 500ml or less. More recently I have dropped to a single cup at 250-300ml. Only at the weekend might I make a larger batch or have a second/third cup. The pour-over style tends to extract more from the bean and therefore has a higher caffeine content than other methods of brewing.
When I say ‘a cup’ I normally mean 250ml, not far from an 8oz cup.
15-16g of coffee for a 225-250ml cup is also the perfect starting point for dialling in coffee in my opinion.
Dialling in
Dialling in a coffee simply means finding the sweet spot between an under or over extracted coffee given any recipe. When brewing we can play with a bunch of variables and generally I avoid changing more than one variable at a time when trying to improve a brew.
Variables include:
- grind size, is quickly adjusted and I start with med to course (28 clicks on my Commandante) and then a finer grind (around 19 clicks)
- there is also the brewer/dripper to consider along with decisions around immersion/percolation, Bypass and no bypass brewers and different shapesm sizes and materials
- filter brands and types of paper (and other materials) that can control the speed at which the coffee passes through the filter and the likelihood that coffee grounds will clog the filter
- water temperature, my new favourite variable
- the water itself, hugely important in hard water areas
- coffee to water ratio,
- and finally the pouring technique.
My dialling in process is a bit rough and ready compared to some. I tend to start every new coffee at 28 clicks, follow up with a 19 click test and then work from there. I used to start with water temperature up at 98°C because the roasts are light and this is what we have been told.
Now, I have a different outlook.
Although I have always played with lower temperatures I have found the sweet spot is with lower temperature water and low agitation pours.
Keep it simple.
That means that I now start with 89°C and I don’t reheat the water or try to keep it at that temperature.
This temperature tends to preserve delicate flavours and reduce to liklihood of funky flavours developing. Whilst many would argue that I am missing out of some of the potential of the coffee I would argue that I get a smoother, more aromatic and generally sweeter cup. Every time. The downside is that I might miss out somewhere. Maybe.
I’m not against trying a 94-96°C brew, I’ll start less specialist beans at around 94°C, and I’ll drop to 80°C if I want to experiment. Sometimes I will try a hot start and a colder finish, but generally not the other way round. If I struggle with a bean, then I try a full immersion recipe using the Hario switch to steep the grains and cut down the number of variables I have to consider. See my 50/50 recipe below.
The other change I mentioned is that I now believe in low agitation brewing.
I start with the bloom. This is a stage where the ground beans get initially saturated and left for 30 seconds to a minute or longer to degass. The fresher the beans, the more degassing might be required. I have found that a 30 second bloom, followed by a second 30 second bloom really helps with my consistency. Each uses the same amount of water, typically 50ml. And then the rest of the water gets poured gently in a single go. I’ll swirl to slow the water coming through the filter paper and let the coffee rest for up to 10 minutes.
If the beans are fresh out of the bag or less than week since roasting (these days three weeks off roast seems to be about right) then I find a hotter temperature and a longer bloom might be required.
So long as these are correctly rested beans, this is what I do first:
I tend to start with 15g to 240ml of water which is a ratio of 1:15 and then adjust that ratio if the beans seem to perform better with more or less water.
As you can see, lots of trial and error required.
But since I figured out my low agitation method, nearly every cup is a good cup.
Recipes
The following recipes are for one cup using the switch base and the glass v60 cones.
My killer switch recipe is a go-to for larger batches, lazy Sunday mornings and perfect when I’m struggling to dial-in a coffee.
Ken’s Switch 50:50
Approx 1:16 ratio - e.g. 41g coffee to 650g water (03 cone), or 30g to 470ml of water (02 cone), or 25g to 390ml. 23 - 25 clicks on Commandante grinder 90° C starting temperature Hario Switch with 02 or 03 cone depending on volume. For a light/medium roast coffee:
- add 50% of your 90 C water to the closed Switch (rinsing filter optional)
- start timer and stir in your medium grind coffee; give a really good stir
- at 60-120 seconds, open the valve and draw down pretty much all the coffee
- close the valve; slowly & gently pour the remaining 50% of water. Give another good swirl to settle the bed.
- immediately open the valve and draw down fully
Total brew time should be between 3 and 4 minutes. If yours is shorter you can grind a bit finer or steep the brew for 30 seconds after the second pour.
Ken’s Single cup V60 - the go-to recipe for fancy floral and funky beans
1:15 ratio - 20g : 300ml, coffee:water Bottle water - Sainsburys own spring water 89°C and don’t maintain temperature 28 clicks Cafec T90 filter papers Glass V60 02
Instructions: Grind and tip in coffee. Give a shake to settle. I don’t bother washing the filter or heating the glass these days. Pour 50ml with good agitation to soak all the grounds. Bloom for 30 sec Low agitation 50ml pour, circular without going to the edge. Second bloom for 30 sec Slow pour the rest of the water to 300ml Shake and/or swirl to slow time to 2.30. Let stand with the v60 in the carafe (regulates the heat) for 5 or more minutes.
Bonus Adjustments
Suggested improvements based on common challenges. Your milage may vary.
- Thin / under extracted: (Grind finer, more agitation)
- Bitter / heavy/ too much funk: (Grind coarser, less agitation)
- Washed coffees: (Generally Higher temp, & finer)
- Natural / anaerobic: (Generally lower temp and courser)